The Artful Stampers Blog Hop Challenge #70
Hi Everyone,
If you have hopped on over from Anna's Blog welcome!
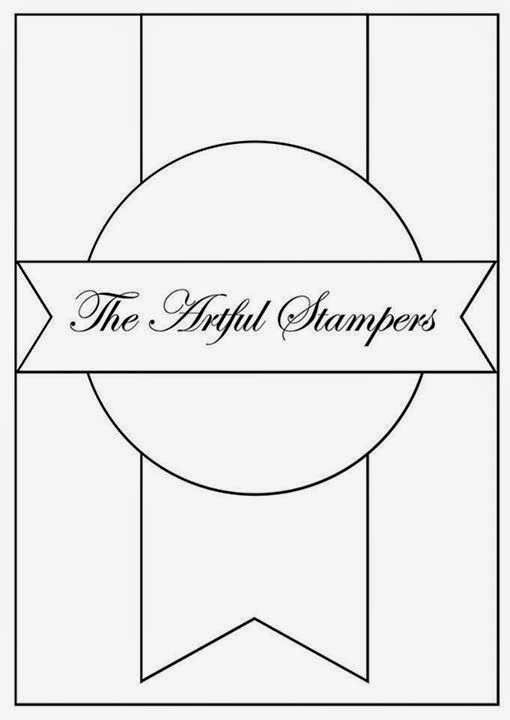
This week we have a sketch to work with:
So this week I thought I would try something new, can you believe it, I have never tried triple time stamping? I thought this would be the perfect opportunity to try give it a go as this sketch reminds me of it so much! If you Google triple time stamping, when you look at all the images, 99% of the layers are centered, but with this sketch I pushed everything to the left, to create a different look and here is the end result:
I'm happy with the end result, and definitely will be revisiting this technique in the future, and for my first time i'm pretty impressed.
Now I had a slight mishap with the Wink of Stella on the card base, before today I had only ever used it on White, so hadn't paid much attention to the colour, or the lid. So today when I used it on the butterfly and card base, It looked like it had 'bleached' the card stock, but paying attention to the lid and some posts in a Facebook group I belong too, I realise that there was batch that had the wrong colour and in fact it is supposed to be clear like it says in the catalouge. So if you have purchased Wink of Stella in clear, be sure to check the colour.
I don't mind the look it gave, but would have preferred it to be clear and shimmery.
Here is the breakdown of products used:
and the measurements:
Kathryn's Tips:
Tip #1 - Make sure you press harder than normal to stamp on all the layers
Tip #2 - Attach the layers temporary together with some snail to ensure they don't move about when stamping
Tip #3 - Cut a dimensional in half and stack them on top of each other, to pop the layer up even more
Tip #4 - Give stamping on an unusual shape a go
Tip # 5 - Tie the ribbon around the last layer before attaching to card
As always I hope I have inspired you try something new, like I have. Now it is time to hop along to Jane's Blog and see what she has been up to!
And here is a list of this week's participants:
Kathryn Carr ---------> YOU ARE HERE
See you next time!
Kathryn x


Beautiful card. I also had this in mind, but I was sidetracked most of the time, lol I blame the kids at home... :)
ReplyDeleteI really like that stamp stack look, I must give it a go and I love how yours turned out.
ReplyDeleteIts so nice to try sometime new and have a lovely result! Your card is fantastic Kathryn. I'm inspired to try it now lol!
ReplyDeleteGorgeous triple time stamping :-)
ReplyDeleteA lovely example of triple time stamping.
ReplyDeleteA lovely example of triple time stamping.
ReplyDeleteooo I haven't tried this technique yet either. your card looks great
ReplyDeleteLovely triple stamping technique! A fun and vibrant card. :)
ReplyDeletebeautiful finished product using this technique! Love the colours, too.
ReplyDeleteclever idea to use the triple time stamping for this layout - looks great :)
ReplyDelete